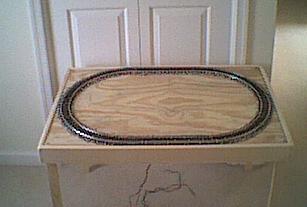
3 rail GarGraves flexible track mounted to a 23 3/4" by 36" board in a lightly-built frame for a very small layout, suitable as a coffee table layout in a small room with a furniture-grade frame and legs. The Lionel handcars, K-Line Porter, and some other O27 equipment runs well on this loop of track. A Lionel O27 steam loco ran alright in a 4-4-2 configuration as did the Lionel O27 diesel with 4 wheels per truck, however I would recommend that you don't go any tighter than O24, and test your equipment on the tight curves before committing time and money to an O24 track plan. The full-size O27 locos look a bit oversized for such a tiny layout and need to be run at only slow speeds. For this tight plan, best to stick with the smaller O27 motorized items and small O27 locos like the K-Line Porter. Why not just use sectional O27 track on a 27" deep board? I have a situation in a small t.v. room where I needed the smallest size table. Perhaps you would like to have your smaller O27 equipment running on a living room coffee table and the 3 inch difference between O27 and O24 is exactly what you need in a tight space. I like to run trains (at times) without having to power-up the large basement layout. This tiny layout is an option for those in small houses, apartments, condos, even RVs. It shows how flexible track can be used to cheat the curves on any layout, or fit in new trains on an existing layout.
A few inches can make all the difference!
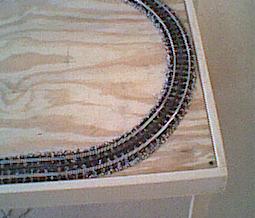
I found it best to shape the track by bending it against my abdomen in a curve slightly tighter than I needed, then relax the curve and tack it down to the plywood. After the ties have been glued to the board, moderate finger pressure on the rails is used to correct any problem areas into a smooth curve. Ballasting with chicken grit (secured with a 50/50 mix of white glue and water) helps to hold the track more securely and make a neat prototypical appearance.
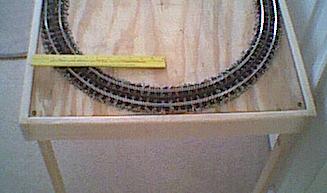
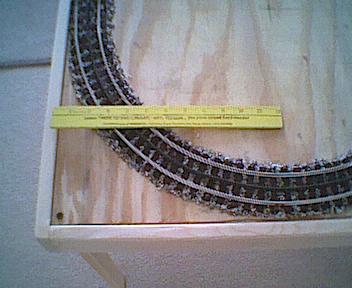
Here the 12 inch ruler shows how sharp a curve this is.
It isn't the easiest project, but the results are worth it. Best advice is to take your time and expect a few broken ties and imperfect curves as you go. Patience with this project will yield good results.
The pivot points are used to draw the semi-circle for the outside edge of the ties on the 23.75" curve.
The blackened center rail of the GarGraves needs to be kept especially clean for handcars and similar small motorized items because the blackening does slightly impede conductivity, in my experience. If you notice your handcar operating erratically, chances are it is a dirty the center rail, with GarGraves or any track. The dirt may only be an invisible thin film on the rail. Some hobbyists scrape off the blackening at the very top of the blackened center rail, but I do not. Of course, wheels and center rail wipers/rollers, as well as all track, need to be clean for best performance.
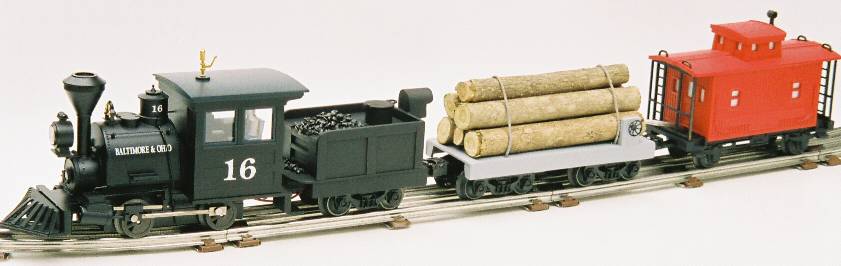
This is the train that runs on this loop of GarGraves track. The loco and tender were featured in the Feb/March 2008 issue of O Gauge Railroading magazine, Run 227, as a "how to" project by me. The cowcatcher and tender are homemade, my own design. The log car is also my design, with "logs" cut from a privet hedge.